How to make a size chart for your clothing brand
Make a size chart for your clothing brand with clear measurements, an example T-shirt table, fit notes and a practical product-page checklist.
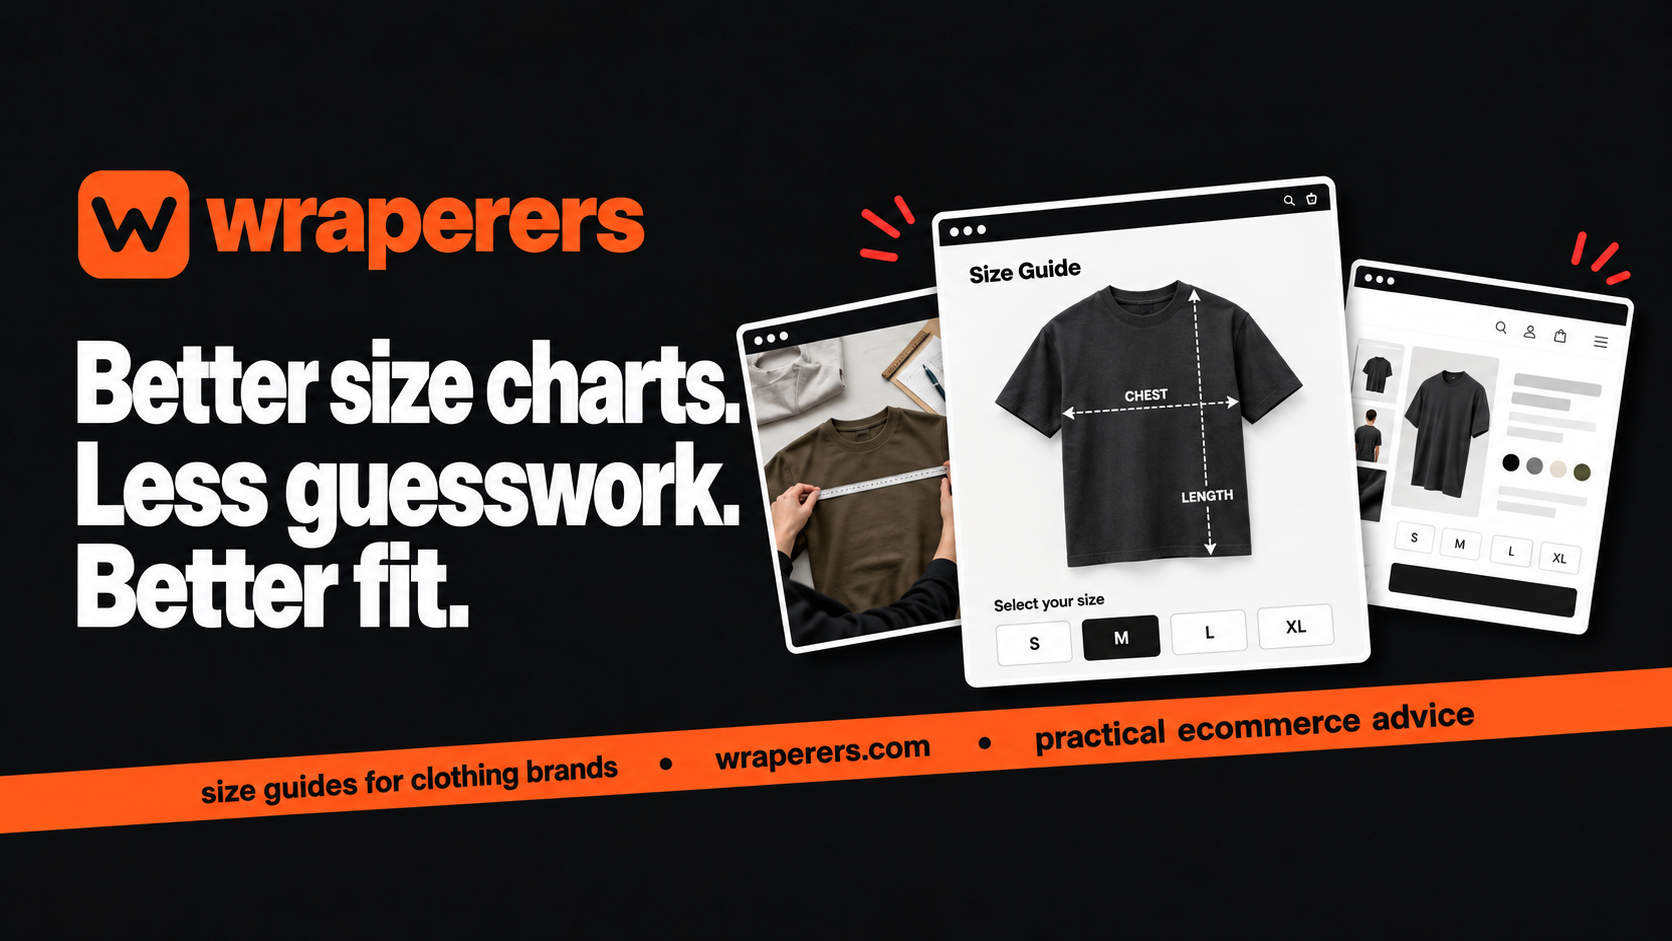
An online store made for your clothing brand: your own admin, checkout and fashion features built in.
Get started for freeGet a free homepage previewA useful size chart for your clothing brand starts with your actual garments, clear units and instructions that explain what to measure. Put it beside the size selector, add a short fit note, and let buyers compare the item with something they already wear.
If you sell through Instagram DMs, you probably recognise the question: “I usually wear M. Will your M fit me?” A size label alone can't answer that. Your job is to give the buyer enough information to make a sensible choice before they pay.
Here's a practical way to build that information for a small Indian clothing brand, without pretending that one chart fits every product.
What belongs in a size chart?
Start with three things: the size label, the measurements that affect fit, and the unit. Then state whether the figures describe the customer's body or the finished garment. These are different measurements and shouldn't share an unclear heading.
Body measurements describe the person the garment is intended to fit. Garment measurements describe the clothing itself. A loose T-shirt needs room around the body, so its finished chest circumference can be larger than the wearer's chest.
For a first chart, choose one clearly labelled approach. If you provide both, use separate tables. Shopify's guide to creating size charts explains this distinction too.
Select measurement points for the product, rather than copying every column you can find:
- T-shirts: chest width, body length, shoulder width and sleeve length.
- Trousers: waist, hip, rise and inseam, with a clear note for elasticated waists.
- Kurtas: chest, shoulder, garment length and sleeve length; add hip where the cut needs it.
- Dresses: bust, waist, hip and length, adjusted for the construction.
Avoid “standard Indian sizing” as a substitute for figures. A customer needs to understand your product, even if their usual size changes between brands.
Measure the clothes you will actually ship
Use a finished production sample for every size you sell. A supplier's specification sheet is a useful starting point, but compare it with the actual stock before publishing it. If a later batch changes, check whether the chart needs updating.
For a T-shirt, lay it on a flat surface and smooth it gently without stretching the fabric. Keep the front and back aligned. Use the same starting and ending points for every size, and write those points down so another team member can repeat the method.
A simple T-shirt measuring method
- Measure chest width straight across the front, from one underarm seam to the other.
- Measure body length from the highest shoulder point beside the neckline to the hem.
- Measure shoulder width across the back, between the shoulder seams.
- Measure sleeve length from the shoulder seam to the sleeve opening.
Dropped shoulders and curved hems need extra explanation. A sleeve measured from the neckline isn't directly comparable with a sleeve measured from the shoulder seam. Pick a method that suits the garment and show it clearly.
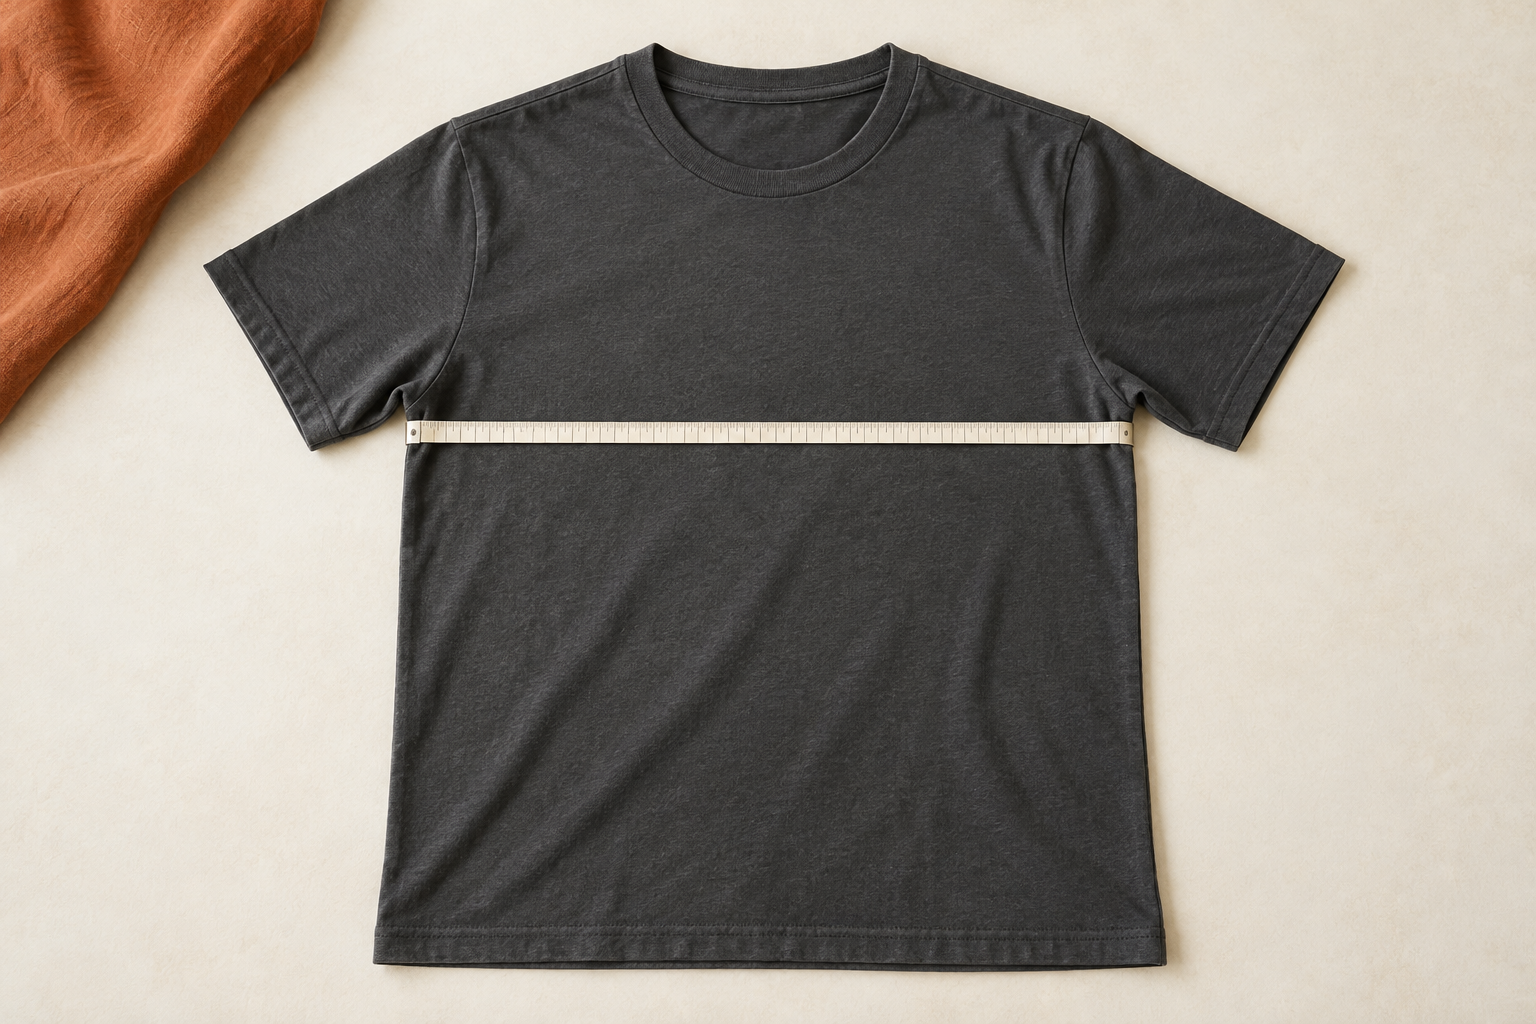
Check several pieces where practical, particularly if your production varies. Record the variation you actually observe and agree an acceptable tolerance with your maker. Don't copy a tolerance from another brand just because it looks familiar.
For washed garments, describe whether the measurements are taken before or after washing. Make any shrinkage statement only after testing the actual fabric and care method. “Pre-shrunk” should be a verified product detail, rather than a reassuring phrase added to every listing.
Use a clear table, then explain how to read it
Below is an illustrative template, not a sizing standard and not measurements for a real Wraperers product. Replace every number with measurements from your own stock before using it on a product page.
Example only: finished T-shirt measurements in centimetres, measured flat.
| Size | Chest width, flat | Body length | Shoulder width | Sleeve length |
|---|---|---|---|---|
| S | 50 | 68 | 44 | 20 |
| M | 53 | 70 | 46 | 21 |
| L | 56 | 72 | 48 | 22 |
| XL | 59 | 74 | 50 | 23 |
The words “chest width, flat” matter. In this example, M measures 53 cm across the front. Doubling that width gives an approximate garment chest circumference of 106 cm. It does not mean the item is designed for a person with a 106 cm chest.
Add a short instruction immediately below the table:
Lay a T-shirt you like flat, measure across the chest from underarm to underarm, and compare that width with this table. These figures describe the garment, not your body.
If you show inches too, convert from one master set of measurements instead of typing two independent tables. One inch equals 2.54 cm. Keep rounding consistent so the two versions don't appear to describe different products.
Avoid a chart saved only as a tiny image. A readable table with text instructions is easier to check on a phone, and buyers can select or copy its contents. Test the longest column heading on a narrow screen before calling it finished.
Add fit notes that answer the next question
Measurements tell the buyer how large the garment is. A fit note explains how you intend it to sit. Describe the cut in plain language: close through the body, relaxed through the chest, cropped in length, or roomy with dropped shoulders.
Don't promise “true to size” without explaining the reference. A buyer switching from another brand still won't know which size to choose. “Compare the chest width with your favourite relaxed T-shirt” gives them an action they can take.
Where you use model photos, record the model's actual height and the size worn. Add relevant body measurements only with permission and when you have reliable figures. Never invent a model profile for an AI-generated image.
Give fabric context too. If a garment stretches, explain the feel and construction using verified product information. If the waist is elasticated, label relaxed and stretched measurements separately and explain how each was taken.
For an oversized cut, tell buyers whether the extra room is already built into the pattern. Automatically advising everyone to size up can produce a fit they didn't want. If someone sits between sizes, explain the trade-off in width and length rather than guaranteeing a perfect fit.
Put the guide where customers choose their size
A helpful chart can still be missed if it sits at the bottom of a long description. Put a clearly named “Size guide” link beside the size choices, or show the table within the product information near them. Keep the opening and closing controls easy to use on a phone.
Use a chart for each fit family. Regular tees and oversized tees may need separate guides, even if both use S to XL. A new supplier, fabric or pattern is a reason to check the measurements again.
Try this product-page review before your next drop:
- Can a buyer find the guide before adding an item to the bag?
- Are units visible without scrolling back to the top?
- Does every number clearly describe body size or garment size?
- Do the measuring instructions match the table headings?
- Are the fit note and photos describing the same cut?
- Is the exchange policy easy to find before checkout?
If you're moving from DMs to a website, keep one source of truth. Use the same approved chart on the store and in saved Instagram or WhatsApp replies. Our guide to a clothing brand website and Instagram DMs covers how the two channels can work together.
At Wraperers, we build phone-first stores for clothing brands. A size finder is coming soon; it shouldn't be confused with the measurement information you can prepare now. You can see our store plans and what's included before deciding how to organise your product pages.
Use customer questions to improve the chart
After launch, keep a simple record of sizing questions and exchanges. Note the product, size bought, question asked and any fit feedback the customer chooses to share. Keep personal details out of a shared working sheet unless they're needed.
Look for a specific misunderstanding. If people keep asking whether “chest” means around the body or across the shirt, change the label. If buyers understand the width but find the item short, make length easier to compare and check the photos.
Measure results carefully. Compare the same product and fit over a useful period, and record how many orders you're looking at. A handful of exchanges won't prove that a new chart has fixed sizing. Pricing, customer mix and product changes can also affect what happens.
Before publishing your own guide, add one real example from your stock: a measured garment, a photo showing your tape placement, or a question a customer actually asked. Get permission before sharing a customer's words. That detail makes the advice more useful than a generic table.
Want to see your products in a store built around your brand? Get a free homepage preview.
Frequently asked questions
Can I use my supplier's size chart without measuring samples?
Should my size chart use centimetres or inches?
Does every colour need a different size chart?
Will a size chart stop all returns?
Want a store like this for your brand?
Send us your brand and we'll design your homepage for free. You only pay if you love it.
Keep reading
Clothing product page checklist: what to show before checkout
Use this clothing product page checklist to improve photos, fit details, size choices, shipping information and the buying experience on mobile.
Affordable ecommerce website builders in India: 10 options, plus Wraperers
Compare affordable ecommerce website builders in India on billing, fees and setup work: 10 alternatives plus Wraperers for small clothing brands.
Clothing checkout testing: a practical guide before going live
Plan clothing checkout testing for sizes, stock, charges, payment outcomes and order records, using a repeatable checklist before your store goes live.